Forking and Reconfiguring the GameHub Assignment
To get a starting point for the final project, you can fork the completed GameHub assignment from one of the team members' previous assignment. This will give you a starting point for the final project.
Fork the GameHub Assignment
- Go to the Repository of chosen GameHub repository.
- On the top right, click the "Fork" button.
- Create the New Repository/Fork, making sure you update the following options:
- Owner: This has to be the IT3049C-Spring24 organization.
- Repository Name: You can choose a custom name for your project, or name it
gamehub-<team initials separated with dashes "-">. - Update the project description.
- You may choose to only fork the main branch, or fork all branches.
- Click
Create Forkto finish the process.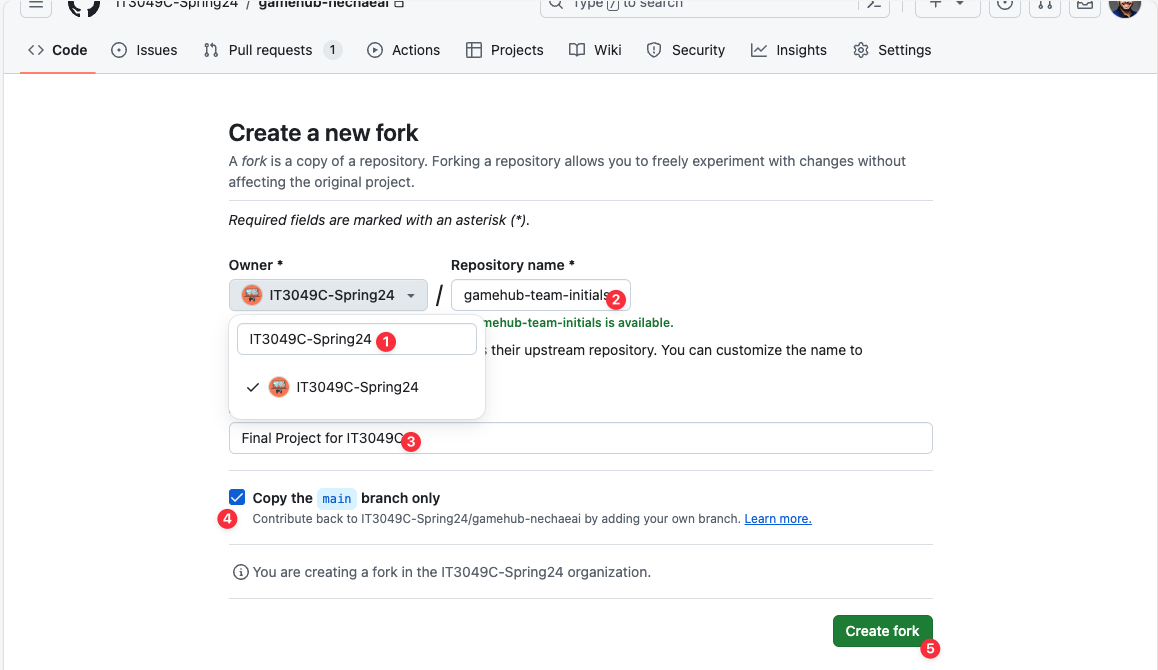
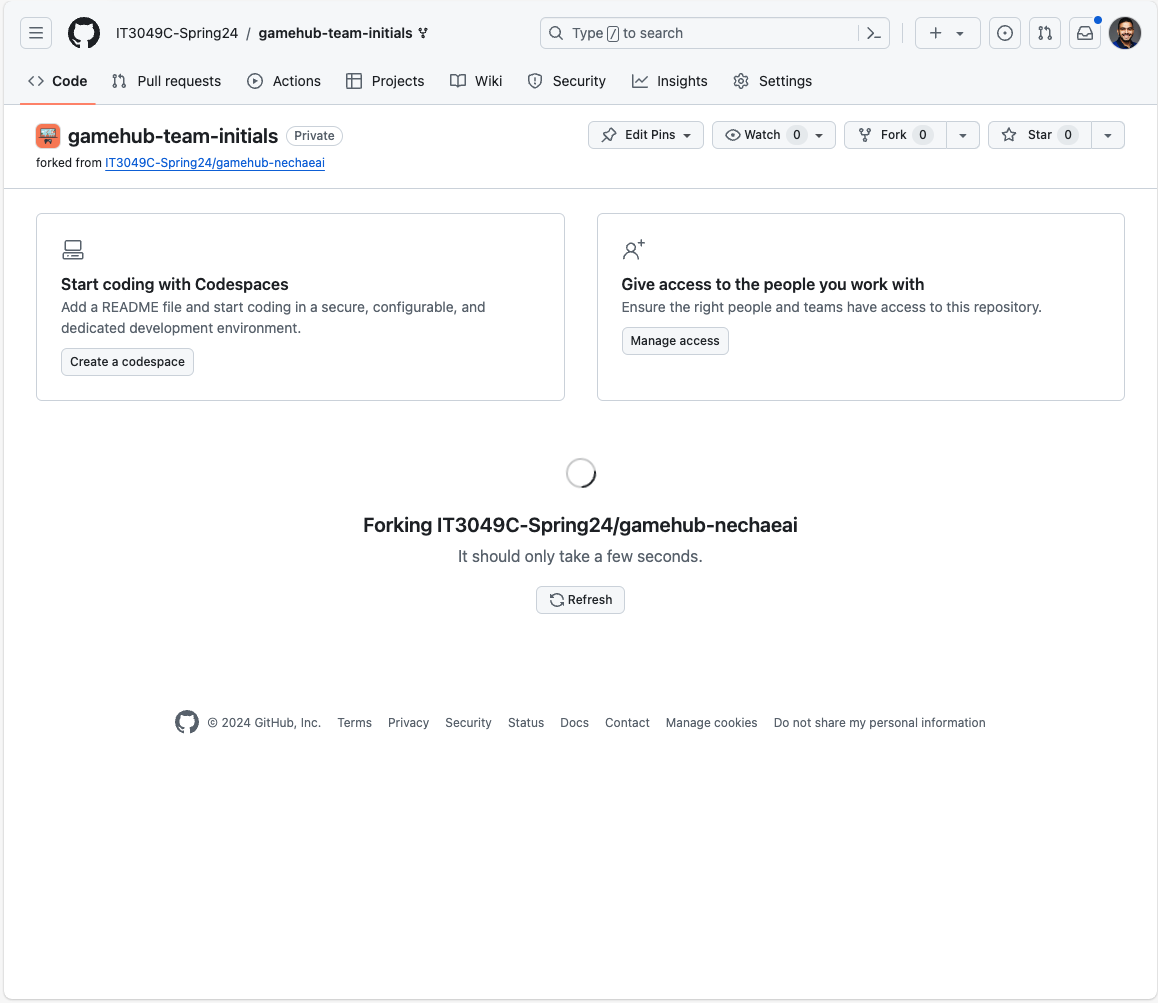
- Wait for the fork to complete.
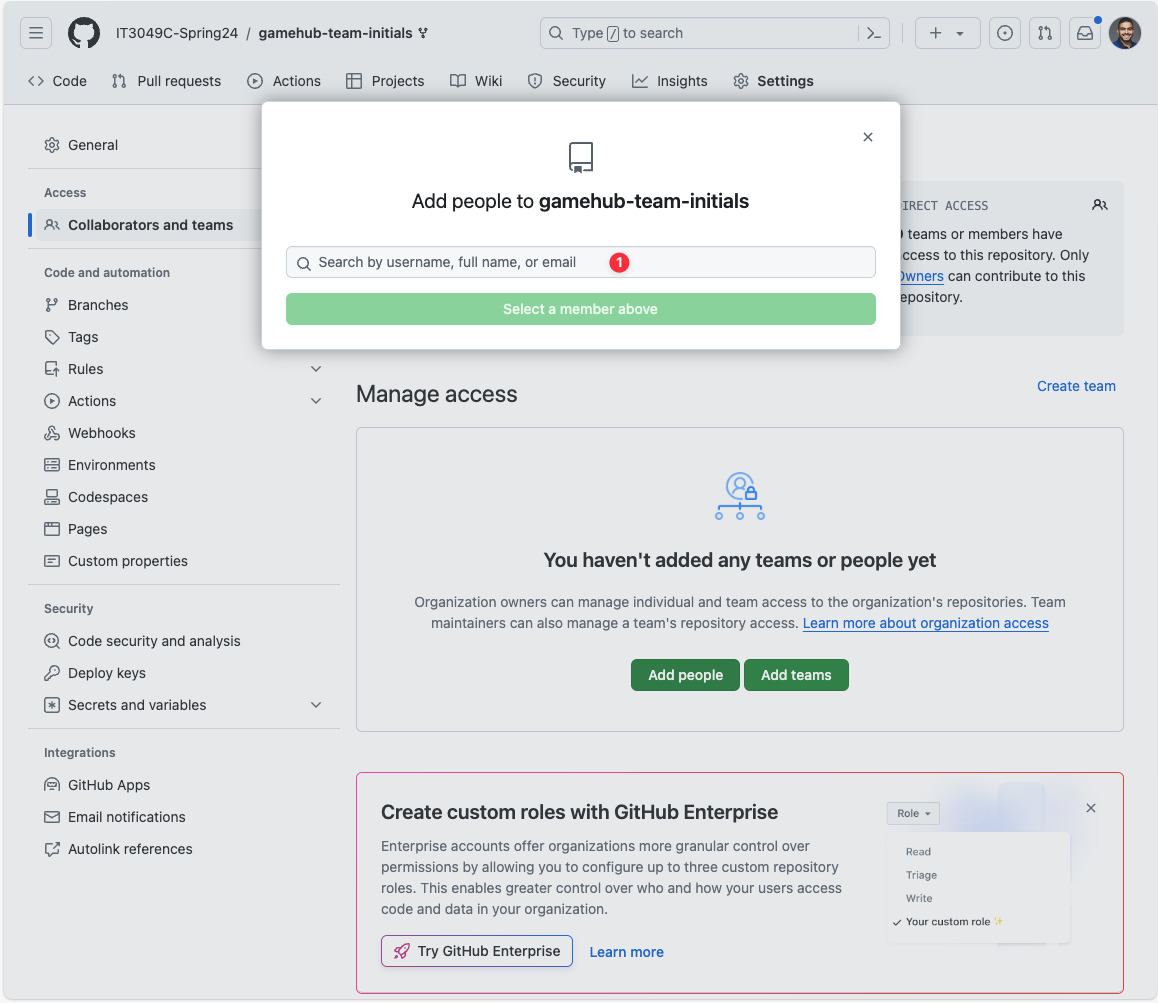
- Update the settings to add the team members as collaborators.
- Go to the
Settingstab. - Click on the
Collaborators and Teamstab. - Click on the
Add Peoplebutton. - Add the team members as collaborators.

- Go to the
Reconfigure the GameHub Assignment
Make sure you:
- Update the project name on the
package.jsonfile. - Update the
README.mdfile with:- The project name.
- The project description.
- The team members' names.
- Update the project name on the
README.mdfile. - Update the project name on the title of
public/index.htmlfile. - Update the base on the
vite.config.jsonfile.