Setting up the Layout
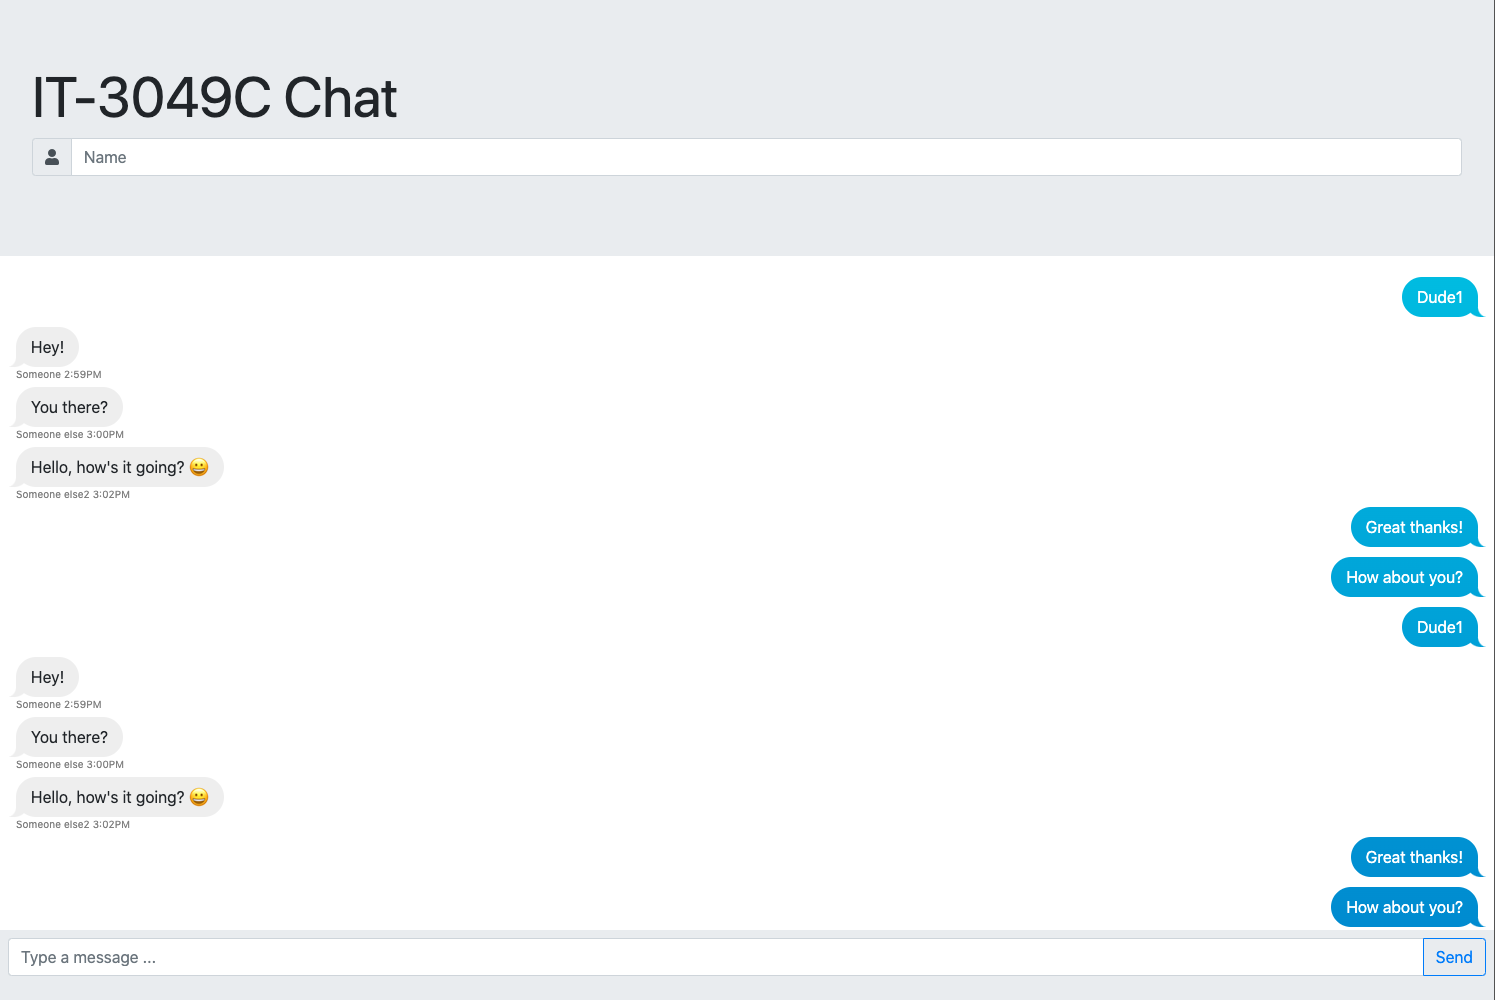
In this step, we will work on setting up the application layout (Just the look and feel). By the end of this step, we will have a page that looks like this
You see I don't mind providing you with a lot of code snippets here, because the focus of this lab is on the DOM Manipulation, and Networking work.
Header - User Name Input
-
Inside the
<header>, Add a 📜 Bootstrap Jumbotron Header.<div class="jumbotron">
<h1 class="display-4">IT-3049C Chat</h1>
</div>- Notice both
jumbotronanddisplay-4are bootstrap classes.- The README file has a question about
display-4class and what it does.
- The README file has a question about
✅ ++; Indicates that one more test should pass now.
- Notice both
-
In the jumbotron
div, create a 📜 bootstrap input group.- The input group will contain an input field for the name.
- input needs to have an id of
my-name-input - input will have a placeholder of
Name
- input needs to have an id of
- Input Group will also contain a add-on icon representing a user.
- 🦉: The FontAwesome Website will show you all the different icons you can choose from and the HTML line you need to use for a user icon.
- In the following code snippet, replace the 💣 line with the correct line of code for the user icon
...
<div class="input-group mb-3">
    <div class="input-group-prepend">
        <span class="input-group-text">
            💣  <i class=".........."></i>
        </span>
    </div>
    <input id="my-name-input" type="text" class="form-control" placeholder="Name">
</div>
...tip🦉 : As you'll start testing the application, you will find yourself typing your name over and over again (with every page refresh, and with every code update). Let's hard-code your name into the input value, a save you a lot of keystrokes 😉
<input id="my-name-input" ... value="Yahya Gilany"> - The input group will contain an input field for the name.
Now the page div should look like this
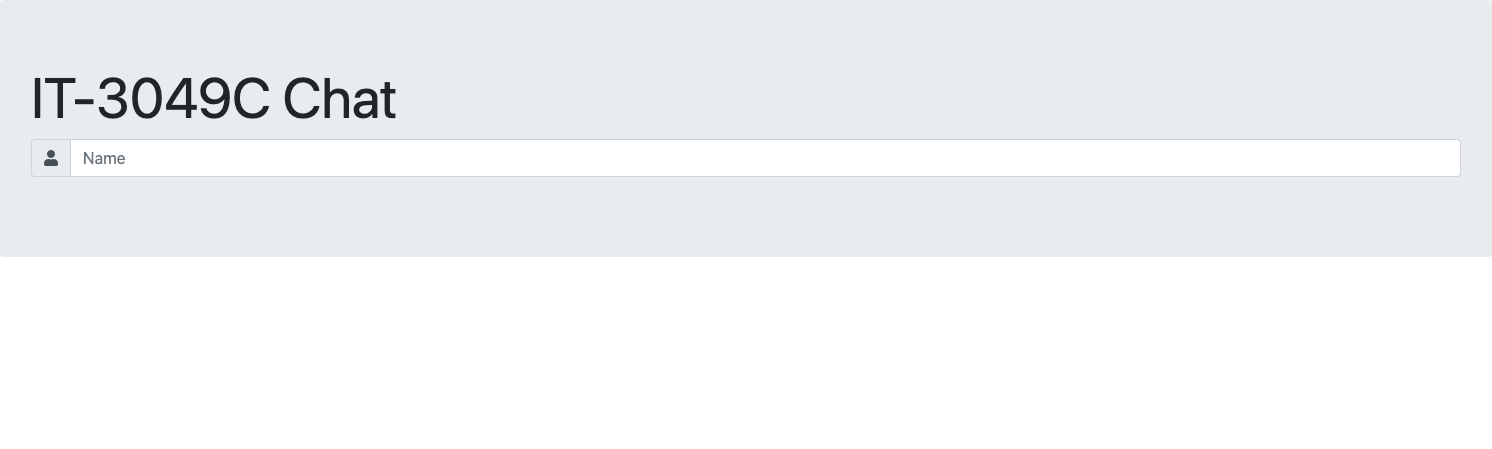
💰 and the html code should look like...
<header>
    <div class="jumbotron">
        <h1 class="display-4">IT-3049C Chat</h1>
        <div class="input-group mb-3">
            <div class="input-group-prepend">
                <span class="input-group-text">
                    <i class="fas fa-user"></i>
                </span>
            </div>
            <input id="my-name-input" type="text" class="form-control" placeholder="Name">
        </div>
    </div>
</header>
Footer - Application Chat input
-
Inside the
<footer>, create a Bootstrap’s Input groups of a text input and a button.- give the containing
<div>an id ofchatbar - give the input field an id of
my-message - give the button an id of
send-button
<footer>
    <div id="chatbar" class="input-group mb-3">
        <input
            type="text"
            id="my-message"
            class="form-control"
            placeholder="Type a message ...">
        <div class="input-group-append">
            <button
                class="btn btn-outline-primary"
                id="send-button"
                type="button">Send</button>
        </div>
    </div>
</footer> - give the containing
-
copy the following css code to your
styles.cssfilebody,
html {
height: 100vh;
overflow: hidden;
margin: 0;
padding: 0;
}
body {
display: flex;
flex-direction: column;
}
header,
footer {
background: #e9ecef;
}
.jumbotron {
margin-bottom:0;
}
footer {
padding: 0.5rem
}
#chat {
flex: 1 0 auto;
height: 0;
overflow-y: auto;
padding: 1rem;
}
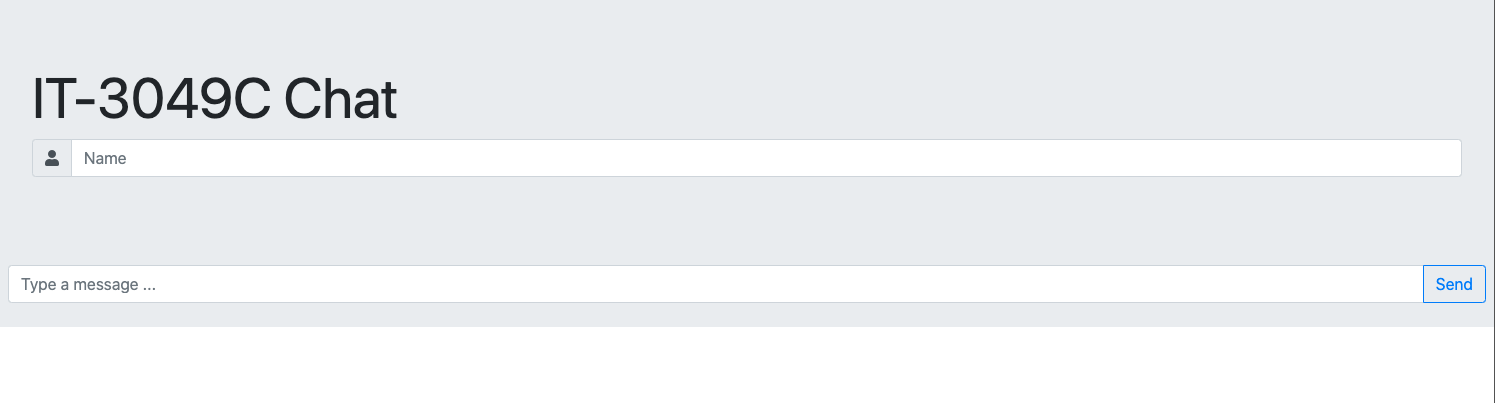
The page should look like this.
Body - Chat messages section
- Inside of the
chatdiv, copy the following (MOCK) messages.
<div class="mine messages">
    <div class="message">
        Dude
    </div>
</div>
<div class="yours messages">
    <div class="message">
        Hey!
    </div>
    <div class="sender-info">
        Someone 2:59PM
    </div>
</div>

<div class="yours messages">
    <div class="message">
        You there?
    </div>
    <div class="sender-info">
        Someone else 3:00PM
    </div>
</div>

<div class="yours messages">
    <div class="message">
        Hello, how's it going? 😀
    </div>
    <div class="sender-info">
        Someone else2 3:02PM
    </div>
</div>

<div class="mine messages">
    <div class="message">
        Great thanks!
    </div>
</div>

<div class="mine messages">
    <div class="message">
        How about you?
    </div>
</div>
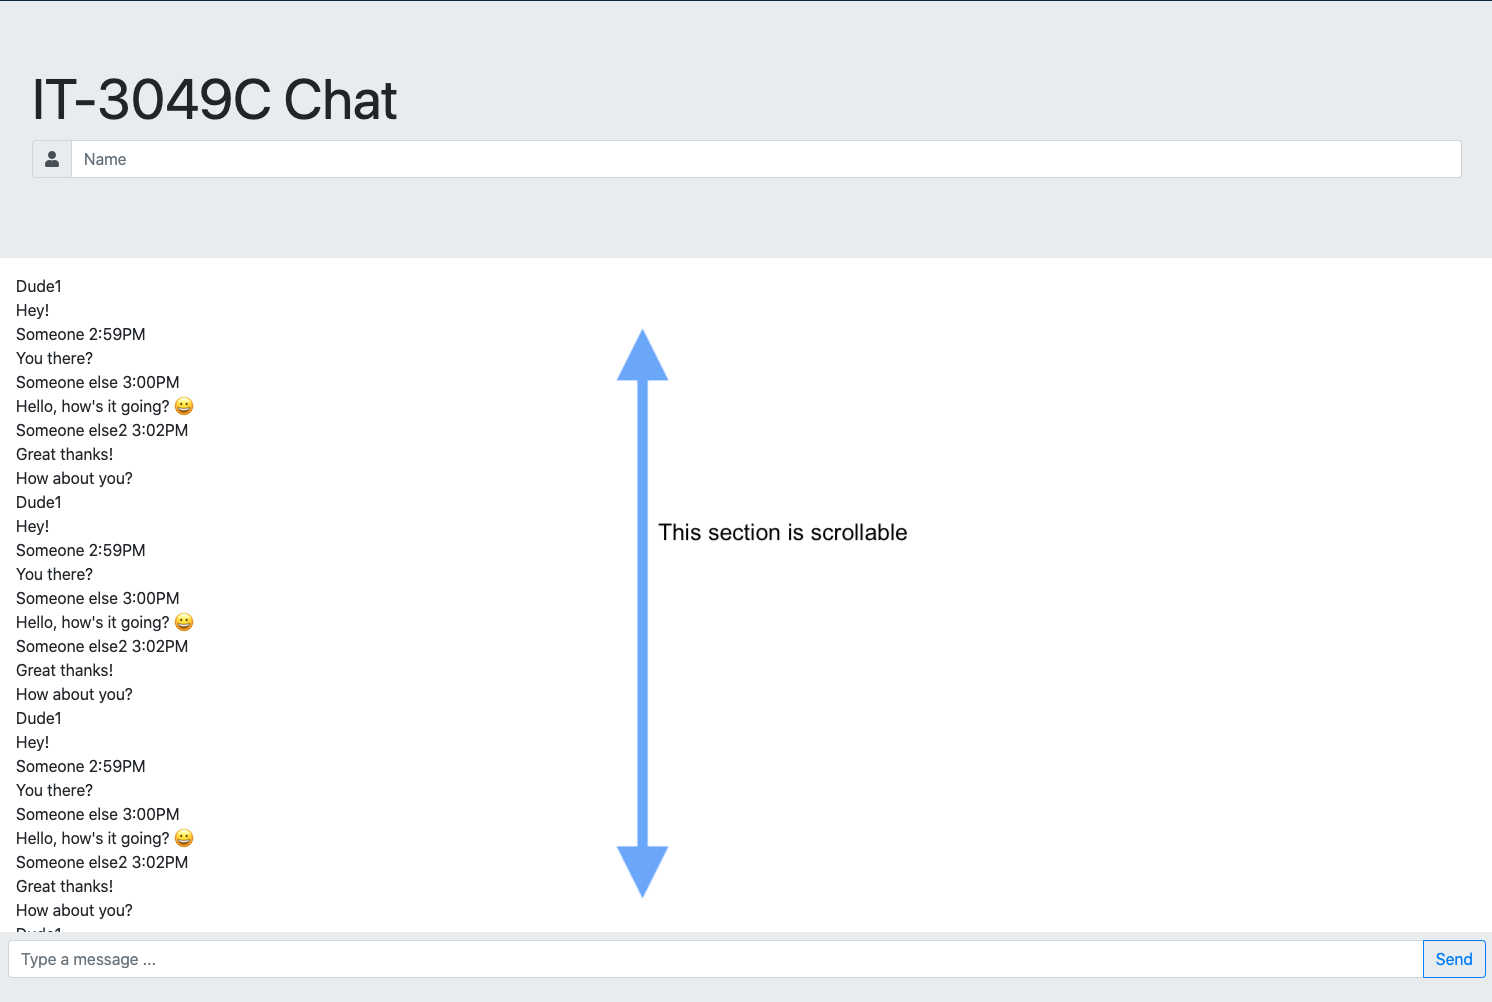
- You may paste the above multiple times to flood the chat div with messages and notice how you can scroll inside the chat section without the header or the input scrolling.
- Refresh the page, and you should see something like this.
Styling the chat messages 👩🎨 🎨
- Copy the following into the
styles.cssfile.sender-info {
font-size: 10px;
margin-top: -5px;
color:grey;
}
.messages {
display: flex;
flex-direction: column;
}
.message {
border-radius: 20px;
padding: 8px 15px;
margin-top: 5px;
margin-bottom: 5px;
display: inline-block;
}
.yours {
align-items: flex-start;
}
.yours .message {
margin-right: 25%;
background-color: #eee;
position: relative;
}
.yours .message:before {
content: "";
position: absolute;
z-index: 0;
bottom: 0;
left: -7px;
height: 20px;
width: 20px;
background: #eee;
border-bottom-right-radius: 15px;
}
.yours .message:after {
content: "";
position: absolute;
z-index: 1;
bottom: 0;
left: -10px;
width: 10px;
height: 20px;
background: white;
border-bottom-right-radius: 10px;
}
.mine {
align-items: flex-end;
}
.mine .message {
color: white;
margin-left: 25%;
background: linear-gradient(to bottom, #00D0EA 0%, #0085D1 100%);
background-attachment: fixed;
position: relative;
}
.mine .message:before {
content: "";
position: absolute;
z-index: 0;
bottom: 0;
right: -8px;
height: 20px;
width: 20px;
background: linear-gradient(to bottom, #00D0EA 0%, #0085D1 100%);
background-attachment: fixed;
border-bottom-left-radius: 15px;
}
.mine .message:after {
content: "";
position: absolute;
z-index: 1;
bottom: 0;
right: -10px;
width: 10px;
height: 20px;
background: white;
border-bottom-left-radius: 10px;
}
Result
- Now refresh the page and LOOK AT THAT 🎉🎉🎉
Now Enough HTML and CSS .. On to JavaScript